The clay was rock hard and very crumbly. It was impossible to work. In fact, it was so hard that I wondered if I would even be able to use it. But I had a block of MixQuick in my toolbox and an order to fill, so I had nothing to lose.
You can see how dry the original clay was. In fact since I tend to use Sculpey additives with Premo!, the MixQuick was quite dry too!
I chopped the pink Fimo Classic into thin slices and let it crumble. This is quite a messy technique, so make sure you work on a large tile and that you lay plastic on the floor if you have carpet or you'll be picking crumbs of clay out of the shag pile forever.
I started with about a third MixQuick and chopped it up along with the Fimo Classic.
Close up.
It stayed very crumbly for a long time and was very hard to work. I had to rub the mix through my fingers as if I were rubbing fat into flour to make pastry. I rubbed then squeezed the mass together, then rubbed some more. I tried to manipulate the clay as much as possible but I think Fimo reacts to heat rather than manipulation (unlike Premo! which becomes softer as it is worked). I added a little more MixQuick but kept the proportions 2:1 Fimo:MixQuick.
Eventually the mass started to come together. Most of the clay held together in a ball with just a few crumbs. I could see that the MixQuick and the Fimo Classic were not thoroughly mixed as the colour was streaky.
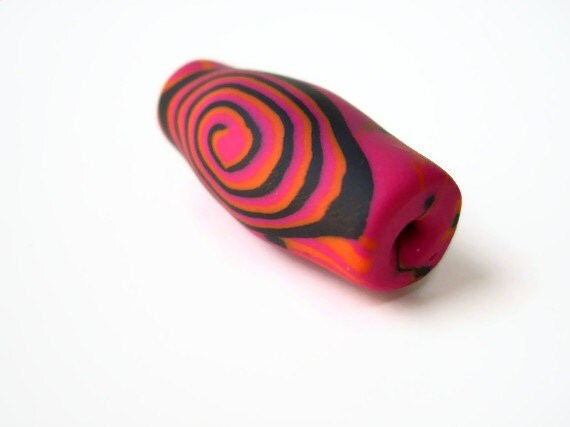
This is the bead I copied and I was amazed that the earrings were a perfect colour match and the clay was good enough to make a jelly roll cane and form barrel beads.


No comments:
Post a Comment
I welcome your comments, your humour and your support. Please remember that I and any other commenters on here are real people and play nicely. Thanks.